-
Table of Contents
“Transform Your Ride: Master the Art of Car Wrap Vinyl Installation with Our Step-by-Step Guide!”
Installing car wrap vinyl can transform the appearance of your vehicle, providing a fresh look without the permanence of a paint job. This step-by-step guide will walk you through the process, ensuring a professional finish whether you’re a DIY enthusiast or a first-time installer. From preparing your vehicle’s surface to applying the vinyl and finishing touches, each stage is crucial for achieving a seamless wrap. Follow these instructions carefully to enhance your car’s aesthetic and protect its original paint.
Tools and Materials Needed for Car Wrap Vinyl Installation
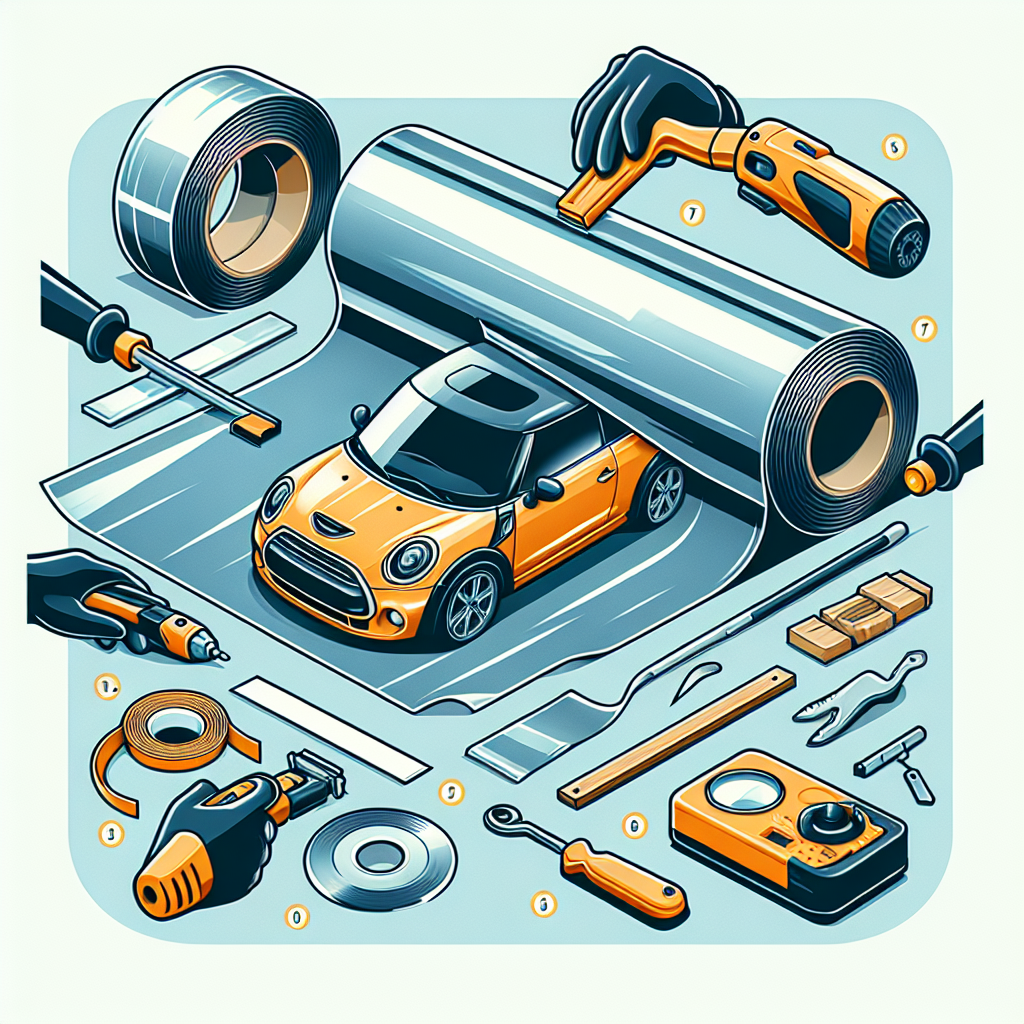
When embarking on the journey of installing car wrap vinyl, it is essential to gather the appropriate tools and materials to ensure a successful application. The right equipment not only facilitates a smoother installation process but also contributes to achieving a professional finish. To begin with, the most fundamental item required is the car wrap vinyl itself. This material comes in various finishes, including gloss, matte, and satin, allowing for customization based on personal preference and the desired aesthetic of the vehicle. It is advisable to select high-quality vinyl from reputable manufacturers, as this will enhance durability and longevity.
In addition to the vinyl, a utility knife or a sharp blade is crucial for trimming the material accurately. A clean cut is vital to avoid fraying and to ensure that the edges of the wrap adhere properly to the vehicle’s surface. Furthermore, a squeegee is an indispensable tool for smoothing out the vinyl during application. This tool helps eliminate air bubbles and wrinkles, ensuring that the wrap adheres evenly to the contours of the car. It is beneficial to use a squeegee with a felt edge, as this minimizes the risk of scratching the vinyl during the installation process.
Moreover, a heat gun is another essential tool that aids in the installation of car wrap vinyl. The heat gun allows the installer to warm the vinyl, making it more pliable and easier to conform to the vehicle’s curves and edges. This step is particularly important for complex areas, such as around door handles and mirrors, where precision is paramount. However, it is crucial to exercise caution when using a heat gun, as excessive heat can damage the vinyl or the vehicle’s paint.
In addition to these primary tools, a measuring tape is necessary for ensuring accurate cuts and placements. Taking precise measurements helps avoid waste and ensures that the vinyl fits the intended areas without gaps. Alongside the measuring tape, a marker or chalk can be used to make temporary markings on the vehicle, guiding the installer during the application process.
To further enhance the installation experience, it is advisable to have a cleaning solution and microfiber cloths on hand. Prior to applying the vinyl, the vehicle’s surface must be thoroughly cleaned to remove any dirt, grease, or wax that could hinder adhesion. A clean surface is critical for achieving optimal results, as contaminants can lead to bubbling or peeling over time. The microfiber cloths are ideal for this task, as they are gentle on the paint and effective at picking up debris.
Lastly, it is beneficial to have a pair of gloves available during the installation process. Gloves not only protect the installer’s hands from adhesive residue but also prevent fingerprints from being left on the vinyl, which can mar the appearance of the finished product. By assembling these tools and materials, one can approach the car wrap vinyl installation with confidence, knowing that they are well-equipped for the task at hand. Ultimately, a well-prepared installation process can lead to a stunning transformation of the vehicle, enhancing its visual appeal and providing a layer of protection for the underlying paint.
Preparing Your Vehicle for Vinyl Application

Preparing your vehicle for vinyl application is a crucial step that significantly influences the final outcome of your car wrap project. To begin with, it is essential to ensure that the surface of the vehicle is clean and free from any contaminants. This process starts with a thorough wash using a high-quality automotive soap. It is advisable to avoid household cleaners, as they may leave residues that can interfere with the adhesion of the vinyl. After washing, it is important to rinse the vehicle thoroughly to remove any soap residue, followed by drying it completely with a microfiber towel to prevent water spots.
Once the vehicle is clean, the next step involves inspecting the surface for imperfections. This includes checking for scratches, dents, or rust that may affect the vinyl’s adherence. If any imperfections are found, it is recommended to address them before proceeding. For instance, minor scratches can be polished out, while deeper scratches or dents may require filling and sanding to create a smooth surface. Additionally, any rust should be treated and painted over to prevent it from spreading under the vinyl.
After ensuring that the surface is smooth and free from imperfections, the next phase is to prepare the vehicle’s trim and other components. This involves removing any parts that may obstruct the application of the vinyl, such as door handles, mirrors, and emblems. By removing these components, you create a seamless look and ensure that the vinyl adheres properly to the vehicle’s surface. If removal is not feasible, it is advisable to use painter’s tape to cover these areas, protecting them from adhesive residue and ensuring a clean finish.
In addition to removing or protecting components, it is also essential to consider the temperature and environment in which the vinyl will be applied. Ideally, the application should take place in a controlled environment, such as a garage, where temperature and humidity can be regulated. Vinyl adheres best when applied at temperatures between 60°F and 80°F (15°C to 27°C). If the temperature is too low, the adhesive may not bond properly, while excessively high temperatures can cause the vinyl to become too pliable, making it difficult to work with.
Furthermore, it is advisable to gather all necessary tools and materials before starting the application process. Essential tools include a squeegee, utility knife, heat gun, and a measuring tape. Having these tools readily available will streamline the application process and minimize interruptions. Additionally, it is beneficial to have a partner assist during the installation, as this can help manage larger pieces of vinyl and ensure a smoother application.
Finally, before applying the vinyl, it is wise to plan the layout and design. This involves measuring the sections of the vehicle where the vinyl will be applied and cutting the vinyl to size, allowing for some overlap. By taking the time to prepare adequately, you set the stage for a successful vinyl application that not only enhances the aesthetic appeal of your vehicle but also protects its original paintwork. In conclusion, thorough preparation is key to achieving a professional-looking car wrap, and by following these steps, you can ensure that your vehicle is ready for the vinyl application process.
Step-by-Step Installation Process for Car Wrap Vinyl
Installing car wrap vinyl can be a rewarding endeavor, transforming the appearance of your vehicle while also providing a layer of protection for the original paint. To achieve a professional-looking finish, it is essential to follow a systematic step-by-step process. First and foremost, preparation is key. Begin by thoroughly cleaning the surface of the car to remove any dirt, grease, or wax. A clean surface ensures that the vinyl adheres properly and lasts longer. Use a mild detergent and water solution, followed by a rinse and drying with a microfiber cloth to avoid scratches.
Once the car is clean, inspect the surface for any imperfections such as scratches or dents. If any are found, it is advisable to repair these areas before proceeding, as they can affect the final appearance of the wrap. After ensuring the surface is smooth and clean, gather the necessary tools for the installation. Essential tools include a squeegee, utility knife, heat gun, and a measuring tape. Having these tools on hand will facilitate a smoother installation process.
Next, measure the sections of the car that you plan to wrap. It is crucial to cut the vinyl to the appropriate size, allowing for some overlap at the edges to ensure complete coverage. When cutting the vinyl, it is advisable to use a sharp utility knife to achieve clean edges. After cutting the vinyl, lay it out on a flat surface to familiarize yourself with the design and orientation. This step will help you visualize how the wrap will look once applied.
With the vinyl prepared, it is time to begin the installation. Start with one section of the car, preferably a flat area, to build your confidence. Carefully peel the backing off the vinyl, exposing the adhesive side. It is important to work slowly and methodically, aligning the vinyl with the edges of the section you are wrapping. Once positioned correctly, press the vinyl onto the surface, starting from the center and working your way outwards. This technique helps to eliminate air bubbles that may form during the application.
As you apply the vinyl, use the squeegee to smooth out the material, pushing out any trapped air. If you encounter stubborn air bubbles, a heat gun can be used to gently warm the vinyl, making it more pliable and easier to manipulate. Be cautious not to overheat the material, as this can cause damage. Continue this process, section by section, until the entire area is covered.
After the vinyl is applied, trim any excess material using the utility knife. It is essential to be precise during this step to ensure clean lines and a professional finish. Once all sections are wrapped and trimmed, take a moment to inspect your work. Look for any imperfections or areas that may need additional attention. If necessary, use the heat gun again to adjust any sections that may not have adhered properly.
Finally, allow the wrap to cure for at least 24 hours before exposing it to harsh conditions. This waiting period ensures that the adhesive bonds effectively with the surface. By following these steps meticulously, you can achieve a stunning car wrap that not only enhances the aesthetic appeal of your vehicle but also protects its original paint, making it a worthwhile investment.
Q&A
1. **Question:** What tools are needed to install car wrap vinyl?
**Answer:** You will need a squeegee, utility knife, heat gun, measuring tape, and a cleaning solution.
2. **Question:** What is the first step in the car wrap installation process?
**Answer:** The first step is to thoroughly clean the car’s surface to remove any dirt, wax, or grease.
3. **Question:** How do you ensure the vinyl adheres properly during installation?
**Answer:** Use a heat gun to warm the vinyl as you apply it, which helps it conform to the curves of the car and ensures better adhesion.In conclusion, installing car wrap vinyl involves careful preparation, precise measurement, and meticulous application to achieve a professional finish. By following the step-by-step guide, which includes cleaning the surface, cutting the vinyl to size, applying heat for flexibility, and smoothing out air bubbles, you can successfully transform your vehicle’s appearance. Proper tools and techniques are essential for a seamless installation, ensuring durability and a visually appealing result. With patience and attention to detail, anyone can enhance their car’s look with vinyl wrap.